Soap making is a lot easier (and cheaper!) than you think. Sure, there are many ingredients, supplies, steps, and precautions involved, but once you get the hang of it, you’ll be able to make soap with your eyes closed (although not literally)!
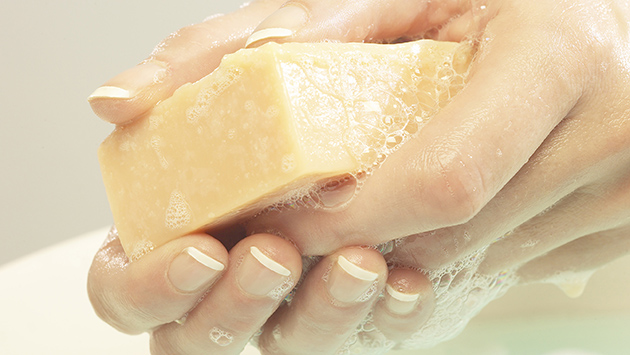
Don’t believe me? Just take a look at this picture:
When I took up the ridiculously frugal hobby of soap making last year, I taught myself by reading countless books, websites, and blogs. It was so time-consuming that I wished I had all the soap making tips, precautions, recipes, and information in one place. It would’ve made my life so much easier.
Well, now that I’m a somewhat seasoned soap maker, I’ve decided to make your life easier by giving you the tutorial I wished I had.
I tried to be as thorough as possible, but I’m sure I accidentally left out a few minor details. If you have any questions, please feel free to ask in the comments section.
Okay, let’s start making some awesome soap!
Ingredients checklist
If you already have a handmade soap recipe you want to try, you can definitely go ahead and use it! If you haven’t the slightest clue what you’re supposed to put in soap, no worries: I have a wonderful recipe for you to use! You will find it further down the post, but let’s focus on the ingredients right now.
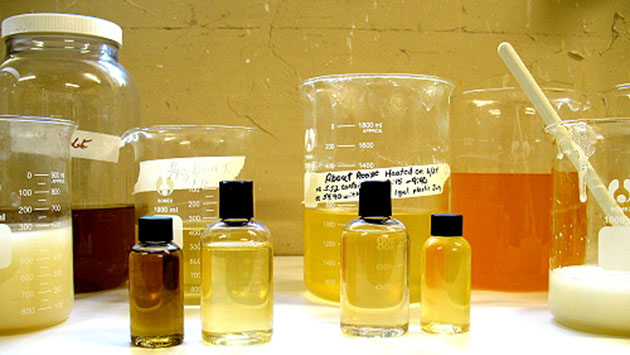
Most handmade soap recipes contain palm oil, a controversial ingredient I personally prefer not to use (find out why). I went ahead and found a wonderful palm-free soap recipe. It lathers well and moisturizes my skin so much that I barely have to use lotion. If you want to use my recipe, here are the ingredients you’ll need:
* Olive oil
* Coconut oil
* Shea butter
* Avocado oil
* Lye
* Distilled water
Supplies checklist
The good news is that you don’t need a set of obscure soap making supplies. In fact, you probably already have most, if not all, of the supplies you need lying around the house! Don’t cheer just yet, though. The bad news is that once you use the following supplies for soap making, you can never, ever use them to prepare food again. It’s because those supplies will come in contact with lye, which can be deadly if ingested. I keep all my soap making supplies in a box far away from the kitchen, and I don’t ever use them unless I’m making soap.
There’s no need to take the supplies checklist to the store. You can just dig through your old kitchen stuff and add the supplies you no longer use to your soap making box. As for the stuff you don’t have around the house, you can pick up some used things at a thrift store.
Also note that it’s extremely important to use the right materials. It’s because lye will destroy certain materials, such as aluminum or Teflon. However, lye won’t react to stainless steel, plastic, and wood. You have to follow the checklist closely and use the materials specified in the list.
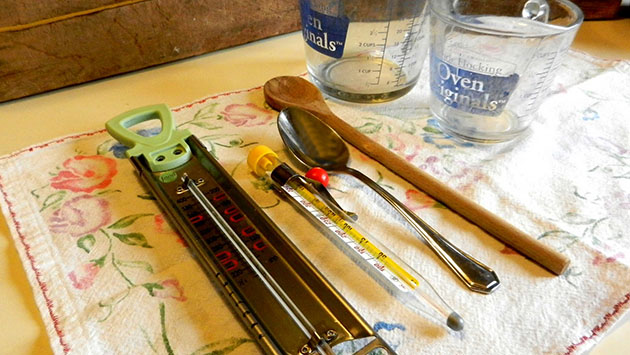
And, now, here’s finally the checklist:
* A stainless steel pot (Never use an aluminum pot. I scored a used stainless steel pot at a thrift store for 50 cents. Bring a magnet to the store. If it sticks to the pot, even weakly, then it’s stainless steel.)
* A plastic or stainless steel hand blender (I got a used one at the thrift store for a couple of bucks.)
* A stainless steel meat thermometer
* A small plastic container (a Tupperware container or an empty sour cream container would do well.)
* A plastic mixing bowl
* A wooden, plastic, or stainless steel spoon
* A food scale
* Lots of white vinegar
* An old sponge
* Soap molds (You can buy some from a craft store or use any type of container.)
* A covered box large enough to contain the soap molds
* A soap color dye of your choosing (optional – if you don’t want to end up with yellow soap)
* An essential oil of your choosing (optional – if you want to add fragrance to your soap)
What to wear
Lye is very dangerous when inhaled or come in contact with skin, so you have to protect yourself as much as possible, even if it means looking totally ridiculous like me right now.
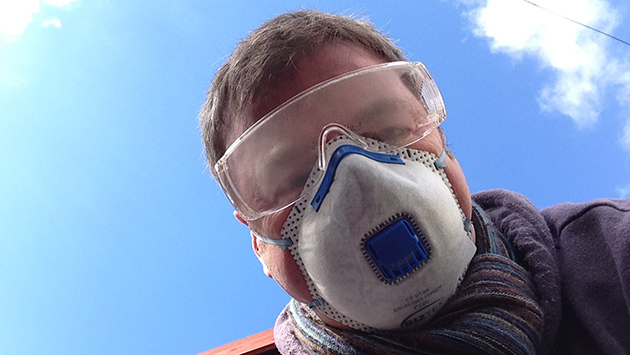
When you’re done laughing at me, take a look at what you need to throw on beforehand:
* Safety glasses
* A respirator mask
* Long rubber gloves
* An old long-sleeved shirt
* Old pants
* Old socks
* Anything else that you feel will protect your skin, eyes, and lungs
Now that you have all the stuff you need, it’s time to crunch some numbers!
My handmade soap recipe
As promised, here’s my recipe:
50% olive oil
25% coconut oil
15% shea butter
10% avocado oil
(Lye and distilled water to be calculated later)
1. Determine how much soap you want to make and do the math.
I suggest starting small, with maybe 2 pounds (32 oz) of soap. Do the math using the percentages in the recipe to determine how many ounces of each ingredient you need to use. Here’s an example using my recipe and a total of 32 oz:
16 oz olive oil
8 oz coconut oil
4.8 oz shea butter
3.2 oz avocado oil
Make sure to write it all down. You will be using those numbers during step 3. If you hate doing math, you can just enter the percentages in a lye calculator (see step 2), and it’ll do the math for you.
2. Use a lye calculator to figure out how much water and lye you need to use.
If you do a Google search on “lye calculator”, you’ll get some pretty good hits. The Bramble Berry Lye Calculator is my favorite one. What a lye calculator does is determine how much lye and water you should put in your soap based on the type and amount of ingredients you’re using. The lye calculator will also ask you for the superfatting level (or the amount of excess fat you want in your soap). The more excess fat there is, the more the soap will moisturize your skin. However, too much excess fat will result in mushy soap. Too little excess fat will result in too-hard soap that doesn’t lather well. I’d recommend putting down any number between 4% and 8%. I always superfat at 6%, and it works out perfectly.
When the lye calculator gives you the results, be sure to write down the amount of water and lye you should use.
3. Weigh the oils.

There are two things you have to do first: make sure all the solid oils (such as coconut oil) are in their solid form, and make sure the food scale weighs in ounces.
Put the stainless steel pot on the food scale and reset the scale to 0. Pour the first oil into the pot until you get the amount of ounces you need. Reset the scale to 0. Pour the second oil in until you get the amount of ounces you need. Reset the scale to 0. Repeat the process until you get all the oils in the pot. Be very careful not to over pour, because once the oil’s in the pot, you can’t take any out because it’ll mess up the measurements.
4. Heat the oils.
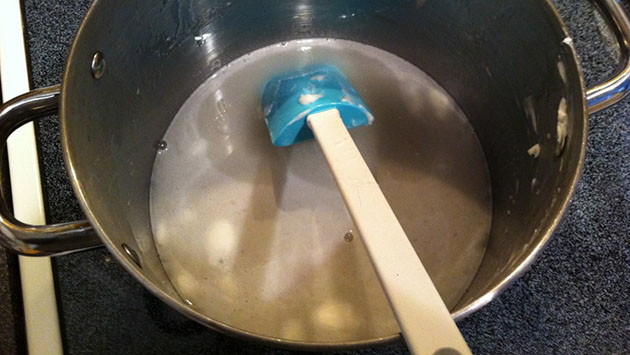
Put the pot on the stove over low heat and use the meat thermometer to measure the temperature of the mixture. When it reaches 110 degrees, remove from heat. In the meantime…
5. Weigh the lye.
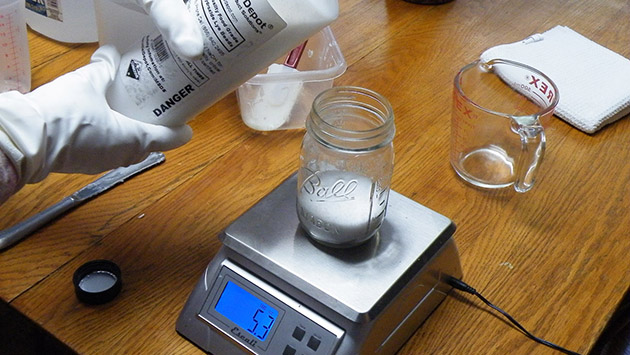
First of all, make sure your rubber gloves are on! Put the small plastic container on the food scale and reset the scale to 0. Pour the lye into the container until you get the amount of ounces you need. Set aside.
6. Weigh the distilled water.
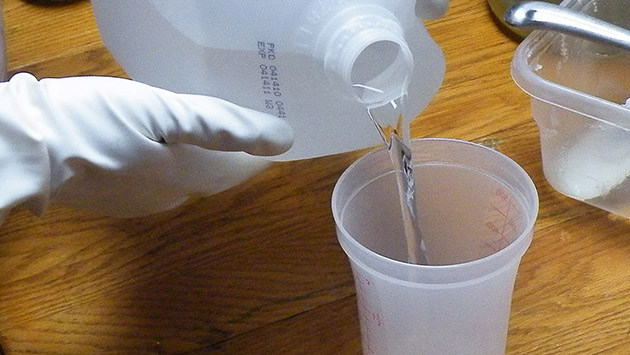
Put the plastic mixing bowl on the food scale and reset the scale to 0. Pour the water into the bowl until you get the amount of ounces you need.
7. Go outside and add the lye to the water.
When lye mixes with water, it will produce some toxic fumes. The first time I did this, I foolishly stayed inside and I accidentally inhaled some of the fumes. My throat burned nonstop the next couple of weeks, and I couldn’t stop coughing. Lesson learned: always go outside when mixing lye with water!
When you’re outside, slowly add the lye to the water (never add water to lye). The mixture will heat up on its own. Keep your face away to avoid breathing in the toxic fumes. Use the wooden, plastic, or stainless steel spoon to gently stir the mixture until the lye dissolves in the water.
Leave the bowl outside until the fumes dissipate. Use the meat thermometer to measure the heat of the mixture. Once it cools to 110 degrees, bring it inside and…
8. Add the lye mixture to the oil mixture.
You need to do this right after the oil mixture is removed from heat. You want both mixtures to be at the same temperature.
Slowly pour the lye mixture into the pot with the oil mixture and use the spoon to mix it in.
9. Blend it.
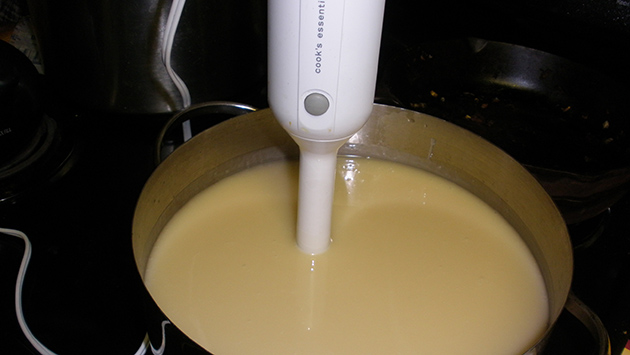
Take the hand blender and carefully blend the combined mixture for 3-5 minutes. Be sure not to lift the blender up or let the mixture splash around. You can alternate between blending and stirring.
You need to blend the mixture until the trace stage is achieved. You can start testing for trace as soon as the soap starts to exhibit a pudding-like consistency. To test for trace, lift your hand blender (when it’s off) and let the soap drizzle on its surface. If you see a trail of soap that takes some time to dissolve back into the mixture, you’ve achieved trace.
10. [Optional step] Add the essential oil and/or soap dye.
As soon as the soap reaches its trace stage, stir in by hand the essential oil and/or soap dye. Be sure not to over stir, because you don’t want the soap to get too thick.
11. Pour the soap into the mold(s) and put it in the covered box.
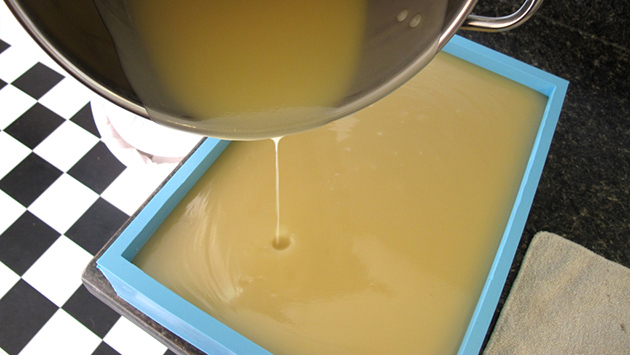
The soap has to be stored in a cool, dark, and dry place. I keep mine in a large box (or if the batch’s small, a shoe box). Keep it there for at least 24 hours while the soap mixture sets.
12. Clean up.
Now, you should be dousing everything in white vinegar. By everything, I mean all the things that have come in contact with lye (including your rubber gloves). It’s important to note that you shouldn’t touch anything, not even the soap, with your bare hands because lye is dangerous in its raw form. White vinegar neutralizes lye. Put everything in the sink and soak it in 50% water and 50% white vinegar for a few hours. Next, drain the sink and use an old sponge and dish soap to scrub everything down. Throw the sponge out when you’re done.
13. Lather up!
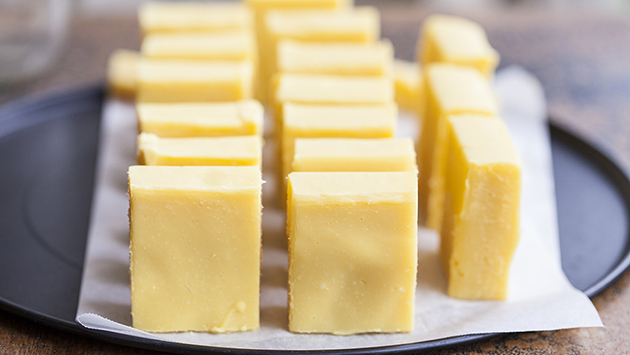
After 24 hours, the soap should be hard enough to pop out of the mold(s) and cut up if necessary. At this point, the soap is safe to touch with your bare hands. Some people use the soap right away; others think it’s better to age (or “cure”) it for a few weeks.
The first couple of times you make soap, it might not come out perfectly. Don’t let that discourage you; it happens to everyone. Practice makes perfect!
Good luck, and happy soap making!